

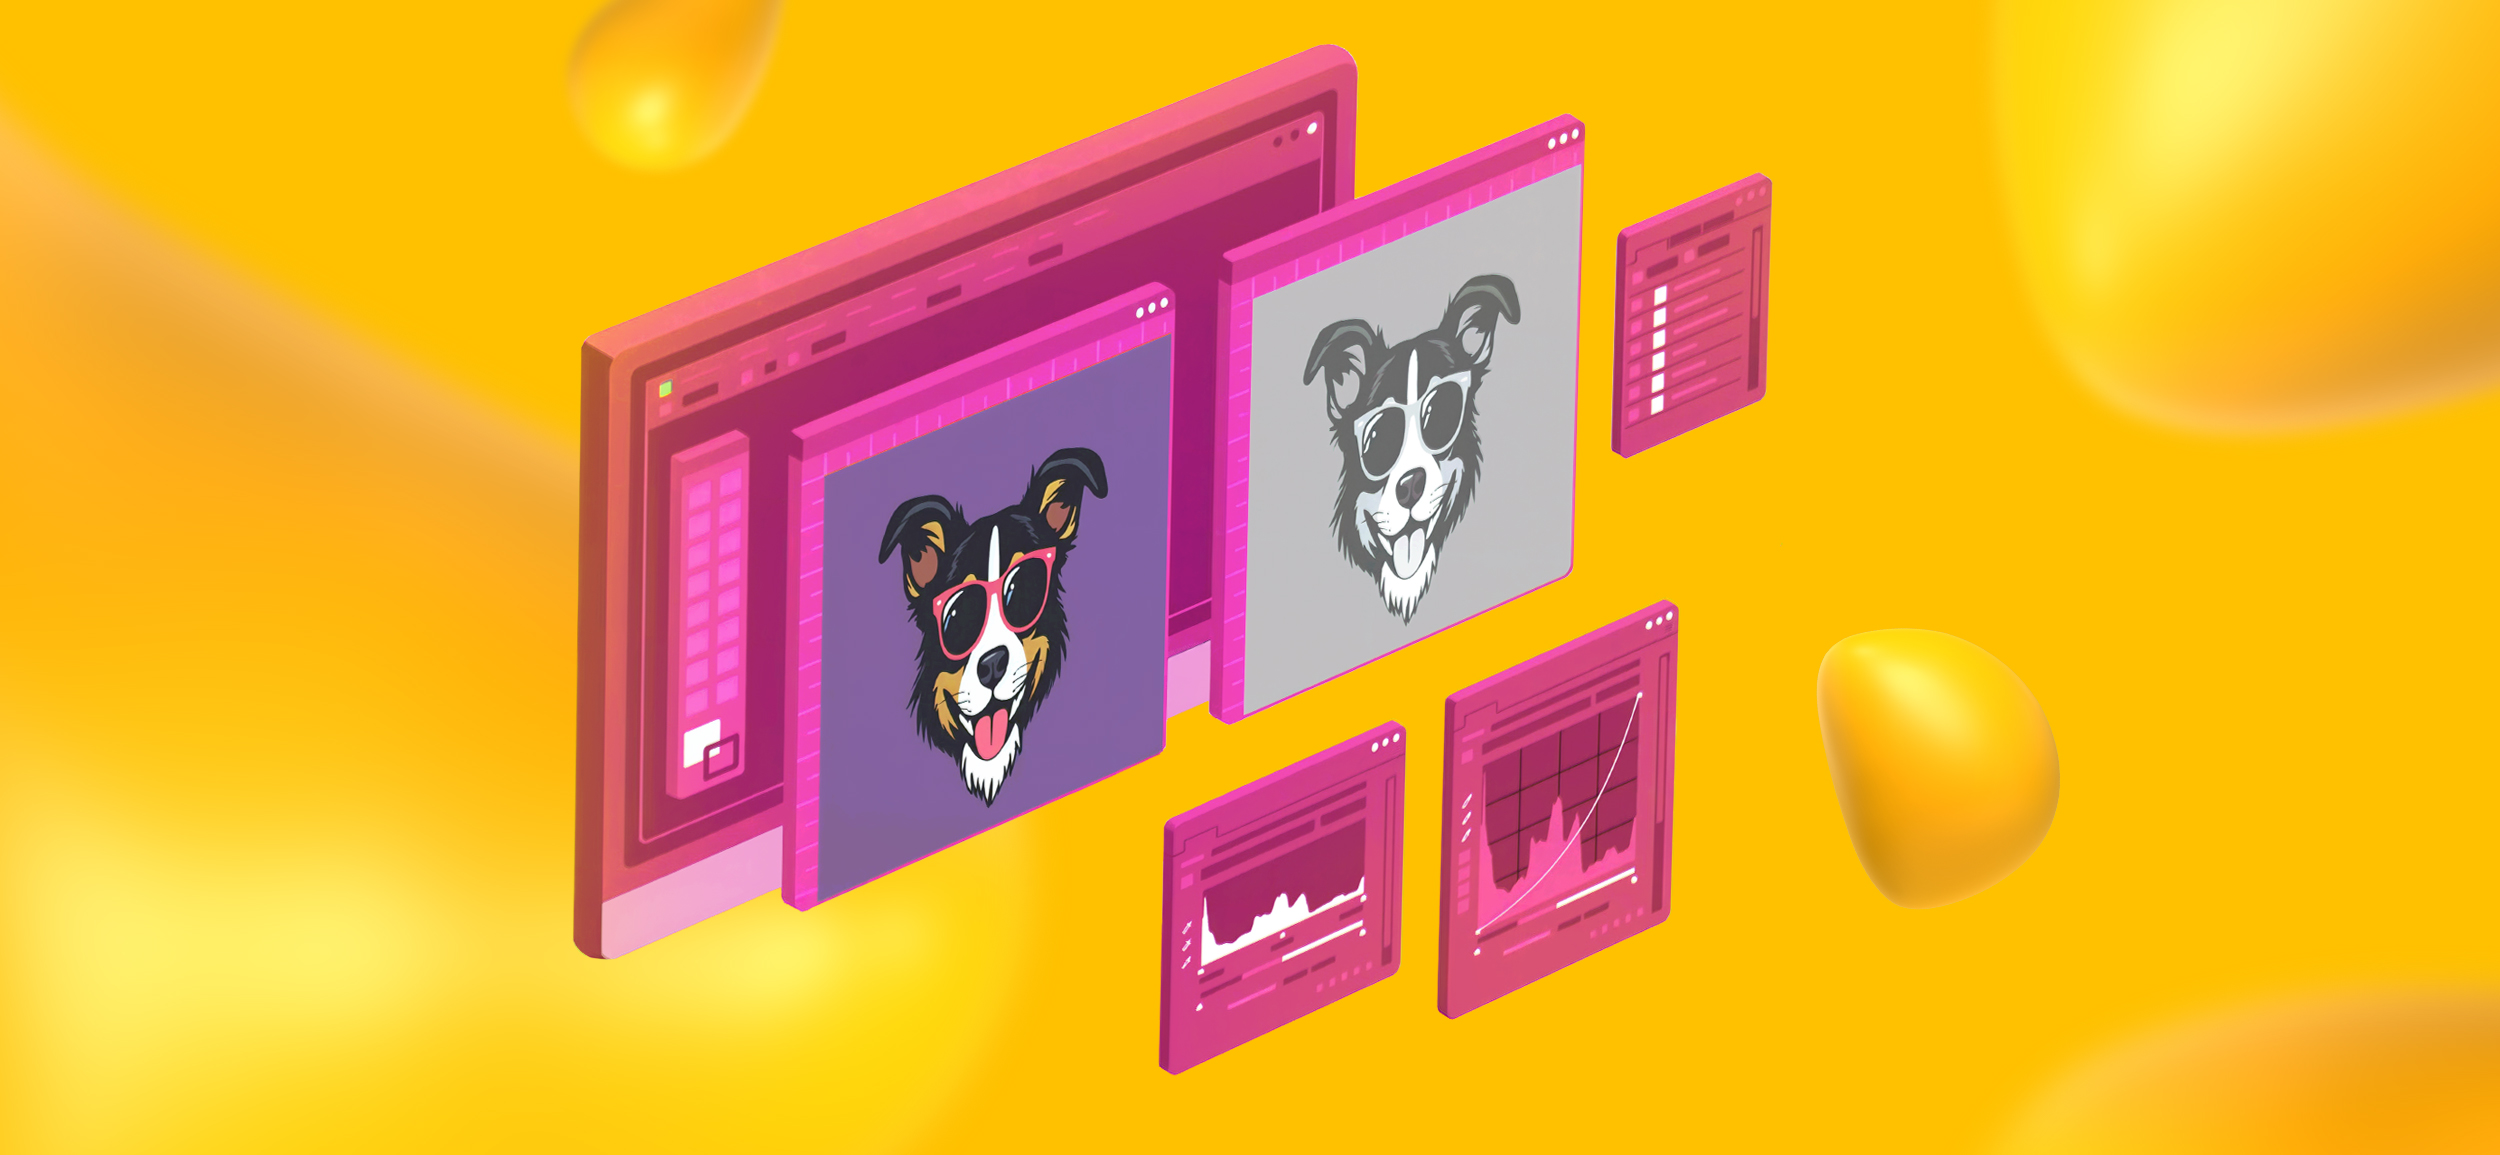
When it comes to creating quality design, having the right tools in your arsenal can make all the difference.
And if Photoshop isn’t your thing, then you might be interested to hear about GIMP (GNU Image Manipulation Program)!
GIMP is a free alternative to the expensive graphic design software out there, offering designers of all levels a huge array of features to help you produce professional-quality work without emptying your wallet.
So, whether you’re a digital artist, photo editor, or graphic designer (or aspiring to be one!), today's blog is taking you through some tips and tricks to help you master GIMP, streamline your workflow, and boost your creative potential!
What is GIMP Editor?
GIMP (or GNU Image Manipulation Program) is a free, open-source graphic design software that can be used for photo editing, image manipulation, and graphic creation.
If you don’t like paying for other commercial programs like Photoshop or Canva, GIMP is a popular alternative and offers features designed for beginners and advanced designers alike.
How Does GIMP Compare to Alternatives?
So, how does GIMP compare to some of the other popular players in the graphic design software game?
Below, we’ve provided a handy and simple comparison so you can see some key factors.
GIMP vs. Photoshop
- Price — GIMP is free, while Photoshop requires a subscription ($22.99/mo for Photoshop alone and $59.99/mo for the whole Creative Cloud)
- Features — Photoshop offers more advanced features and tools; GIMP will have you covered for most basic to intermediate needs.
- Ease of Use — Photoshop has a steeper learning curve but more tutorials; GIMP is simpler for beginners but with fewer built-in resources.
- Performance — Photoshop generally performs better with larger files.
GIMP vs. Affinity Photo
- Price — GIMP is free, while Affinity Photo has a one-time purchase cost ($69.99 for Affinity Photo alone and $164.99 for Affinity Universal License, which includes Affinity Photo, Designer, and Publisher).
- Features — Affinity offers more advanced tools and GIMP covers your more basic to intermediate needs.
- User Interface — Affinity has a more modern, user-friendly interface; GIMP’s is more basic.
- Cross-Platform — Both are available on multiple platforms (Windows, Mac, Linux for GIMP; Windows and Mac for Affinity).
GIMP vs. CorelDRAW
- Price — GIMP is free, CorelDRAW requires a subscription ($16.58/mo) or one-time purchase of $399.
- Focus — GIMP is better for raster-based work (photos); CorelDRAW works best for vector-based design.
- Complexity — CorelDRAW is more complex with advanced features, while GIMP is ideal for simpler photo editing.
- Platform — GIMP supports more platforms (including Linux); CorelDRAW is mainly for Windows and Mac.
GIMP vs. Canva
- Price — GIMP is totally free. Canva offers a free tier too but does have premium paid options with more features starting at $120/year for one person.
- Features — GIMP is more powerful for detailed edits; Canva is easier for quick designs and templates.
- Customization — GIMP allows for complete customization; Canva offers templates but fewer editing capabilities.
- Ease of Use — Canva is more beginner-friendly and ideal for non-designers; GIMP requires a bit more technical knowledge.
A Beginner’s Guide to GIMP Editor

If you’re new to the game, GIMP Editor might seem overwhelming, but once you get to know its interface and the essential tools you’ll need, it’s a huge help for your creative projects!
Whether you’re completely new to graphic design itself or switching over from another software, the following section will guide you the basics of GIMP so you can start using it with confidence.
*Advanced users, feel free to continue scrolling down to Advanced Tips for GIMP Power Users!
The GIMP Interface
GIMPS’s layout is flexible and easy to customize to fit your workflow. Here’s how to navigate it:
Layout overview
Toolbox: Located on the left side. The toolbox contains a variety of essential tools for editing and creating your designs. Some key tools you’ll be using frequently are:
- Move Tool — Allows you to move layers, selections, or paths around.
- Brush Tool — Use this to paint with customizable textures and shapes.
- Eraser Tool — Erase parts of your image or layer with adjustable hardness and size.
- Text Tool — Add and edit text directly onto your image.
- Gradient Tool — Create smooth transitions between colors, great for backgrounds or shading.
- Color Picker Tool — Select colors from your image for consistent use across elements.
- Paths Tool — Create and manipulate Bezier curves and complex shapes for vector-like precision.
Layers and Channels: On the right side of the interface, you'll find the Layers, Channels, Paths, and Undo History tabs. These are important for managing the different elements of your project.
- Layers Tab — Shows all the layers in your project. You can create, delete, rearrange, or merge layers here. Example: Use layers to separate your background from your main subject, allowing you to edit each without affecting the other.
- Channels Tab — Manages the color channels (Red, Green, Blue) and allows you to edit or isolate them. Example: Use channels to adjust specific color levels and contrast, or create detailed masks.
- Paths Tab — This is where you manage any paths you've created with the Paths Tool. Paths are useful for drawing precise shapes or outlining objects for selections.
- Undo History — Allows you to track your actions and undo any mistakes by going back through your edit history.
Menu Bar: The menu bar at the top of the window offers access to a wide range of advanced tools and functions. Here’s what you’ll find:
- File — Standard file functions like New, Open, Save, Export, and Print.
- Edit: Options like Cut, Copy, Paste, Fill, Stroke, and Undo.
- Select — Advanced selection tools, such as Select by Color, Invert, Feather, and Grow, which help refine your selections.
- Image — Here, you can adjust your image properties such as scaling, cropping, flattening layers, and adjusting canvas size.
- Layer — Manage layer properties, including creating new layers, duplicating, merging, or adjusting layer transparency.Example: Use the New from Visible option to merge all visible layers into a new layer without losing the originals.
- Colors — Contains all the color correction tools like Brightness/Contrast, Hue/Saturation, and Levels for adjusting image tone.
- Filters — A wide variety of filters and effects, from blurs and distortions to sharpening and artistic effects. This is where you'll enhance your images with creative touches.
Customizing your workspace
Once you’ve familiarized yourself with the tools you’ll be using, the next step is to customize your workspace to your liking!
Here’s how:
- You can rearrange panels by clicking and dragging them. To remove or add panels, go to Windows > Dockable Dialogs and select the one you need (e.g., Layers, Paths, or Brushes). This allows you to easily set up your workspace in a way that best suits your unique creative flow.
- Save your workspace layout if you prefer a particular arrangement so that it stays that way for your next project. To do so, go to Edit > Preferences > Interface to save or reset the layout.
Single vs. Multi-window Mode
GIMP editor offers two interface modes that allow you to customize the way you view and interact with your tools and panels.
- Multi-window mode is the default mode for GIMP users. It allows each panel (toolbox, layers, etc.) to be in separate windows, which can be useful if you work with multiple screens or want more control over your layout.
- Single-window mode organizes all your panels in one window for easier navigation, especially ideal for beginners just getting started. To enable Single Mode, go to Windows > Single-window mode.
Essential Tools
Now that you’ve got the basics down, it’s time to explore some of the core tools you’ll be using in GIMP. Master these and your workflow will become that much easier!
Here’s a list now:
Selection Tools
Selection Tools are vital to your work since they let you choose specific areas of your images to edit. GIMP offers the following options for selecting:
- Rectangle and Ellipse Select — Use these for selecting simple shapes.
- Free Select (Lasso) — Manually draw around areas for a more custom selection.
- Fuzzy Select (Magic Wand) — Select areas based on color similarity. Great for quick edits.
- Advanced Tip — After selecting, use Shift to add to the selection or Ctrl to subtract from it for more precision.
Brush And Pencil Tools
The following tools allow you to draw or paint directly onto your canvas:
- Brush Tool — Lets you paint using adjustable textures and sizes. You can choose from preset brushes or create custom ones. Use the Size and Opacity sliders to adjust the intensity and scale of your strokes.
- Pencil Tool — A more rigid, pixel-perfect version of the Brush Tool, great for pixel art and hard edges.
*Pro Tip: For smoother curves, adjust the Hardness and Spacing settings in the brush options.
Move And Transform Tools
Move Tool — Use this to move selected layers or objects around your canvas. You can also move selections within layers.
Transform Tools — Options like Rotate, Scale, and Flip. These let you reshape and manipulate your images to your specifications.
Be sure to hold Shift to keep your proportions when you’re scaling an object, unless your goal is to distort your object into a custom shape!
Color And Gradient Tools
- Color Fill Tool: Let’s you quickly fill an area with a solid color of your choice.
- Gradient Tool: Allows you to apply a smooth color transition to your designs.
Filters and Effects
GIMP comes with a wide variety of different filters and effects that can help you with everything from basic touch-ups to full-on artistic transformation.
Here’s a quick breakdown:
Basic Filters
Basic filters help you adjust things like sharpness, clarity, and the overall appearance of your image. Perfect for editing photos or fine-tuning your design.
- Gaussian Blur — A popular filter to soften edges or create a depth-of-field effect. Found under Filters > Blur > Gaussian Blur.
- Sharpen — Boost the clarity of your image by sharpening edges and details. Found under Filters > Enhance > Sharpen.
- Noise Reduction: Let’s you remove unwanted visual noise from photos by using the Reduce Noise filter found in Filters > Noise.
Artistic Filters
Artistic filters let you transform boring images into something creative and one-of-a-kind. The following effects can change up your artwork and let you mimic different styles.
- Cartoon — Converts your image into a stylized cartoon-like effect by simplifying colors and edges. Found in Filters > Artistic > Cartoon.
- Oilify — Gives your image the appearance of an oil painting, with blended colors and textures. Found under Filters > Artistic > Oilify.
- Emboss — Creates a 3D embossed effect, making your image look raised or pressed into the canvas. Found under Filters > Distorts > Emboss.
Layer Effects
The following layer effects are perfect for adding depth, dimension, and style to each of your individual layers to help you make text, shapes, or other elements stand out.
- Drop Shadow — Adds a shadow behind an object or text to create a sense of depth. You can customize the shadow’s distance, opacity, and blur. Found under Filters > Light and Shadow > Drop Shadow.
- Glow — This effect creates a soft glow around objects or text, ideal for creating highlights or emphasis. Found under Filters > Light and Shadow > Neon.
- Bevel and Emboss —Adds dimension by making objects appear raised or indented, similar to a sculpted surface. Found under Filters > Decor > Add Bevel.
Exporting Your Work
Once you finish your masterpiece, the next step is to export it in the correct format and with the correct settings. This will make sure that whatever it’s being used for — a website, digital ad, print, etc. — it looks perfect and functions as intended.
File Formats
The right file format usually depends on how you plan to use your design. Luckily, GIMP supports many different formats. Here are the most popular:
- JPEG — Best for web use and when file size matters, but it's a lossy format, meaning some quality is lost during compression. Ideal for photos and images with a wide range of colors.
- PNG — Preserves transparency and is a lossless format, meaning no quality is lost. This format is great for logos, icons, and web graphics that require transparent backgrounds.
- TIFF — A lossless format best for print projects that require high-quality images. It preserves all data and layers, making it ideal for professional printing.
- GIF — Mainly used for animations and simple images with few colors. Best for web use with smaller file sizes.
Web vs. Print
Exporting your final design for web use and for physical print involves different settings. Use the guide below to export your design for optimal quality.
- Web (72 DPI) — For web use, export your images at 72 DPI (dots per inch) to balance file size and display quality. Smaller files load faster on websites. To adjust DPI, go to Image > Scale Image and set the resolution to 72 DPI.
- Print (300 DPI) — For print, ensure your images are exported at 300 DPI for high-quality, clear prints. Lower resolutions may result in blurry or pixelated printouts. To adjust for print, go to Image > Scale Image and set the resolution to 300 DPI.
Final Checks
Before you finally export your file, it’s good to go through the checklist below to make sure all of the most important aspects are correct.
- Layer Merging — Make sure all visible layers are flattened if you’re exporting to a format like JPEG, which doesn’t support layers. Go to Image > Flatten Image to merge them.
- Color Mode — For web, ensure you’re using RGB color mode. For print, use CMYK if needed. You can adjust color modes by going to Image > Mode.
- Preview — Always preview your image at 100% zoom to check for any potential issues with resolution, alignment, or overall quality.
- Save your GIMP File — Before exporting, always save your project as a GIMP file (.XCF) to keep all layers, paths, and editable elements intact. This will allow you to make future edits if needed.
Advanced Tips for GIMP Power Users

Already past the basics and looking for a guide to take you to the next level?
Say no more, advanced GIMP user! Here is a list of tips to help you boost your GIMP skills, refine your design, and start bringing your visions to life.
Layers and Masks
Mastering layers and masks is essential for creating more complex compositions and making non-destructive editing.
Here’s a quick guide on how to make the most of them:
Layers Management
- Organizing Layers — As your projects become more complex, it’s important to organize your layers. A good practice is to name your layers, group related ones, and use folders to keep your workspace tidy. You can group layers by selecting them and pressing Ctrl+G.
- Opacity and Locking — This is for adjusting the opacity of individual layers for blending or to create transparency. Use the Lock Alpha Channel button to preserve transparency in your layers, to make sure that your edits affect only non-transparent areas.
- Clipping Masks — GIMP doesn’t have built-in clipping masks like other programs, but you can simulate them by using layer groups and alpha masks (a way to control opacity of a layer with a grayscale mask).
Layer masks
- Using Layer Masks — Layer masks let you hide or reveal parts of a layer non-destructively. Add a mask by right-clicking the layer and selecting Add Layer Mask. Use black to hide areas, white to reveal them, and shades of gray for partial transparency. Pro Tip: Use a soft brush on a layer mask for smooth transitions and blending.
- Editing Masks — You can edit a mask just like any other layer. To view the mask, press Alt and click the mask thumbnail. This makes advanced retouching and blending easier.
- Feathering Edges — Create smooth blends by feathering the edges of your mask using the Gaussian Blur filter on the mask itself, found in Filters > Blur > Gaussian Blur.
Blending Modes
GIMP offers a range of blending modes to control how layers interact with each other. Popular modes include:
- Multiply — Darkens the image by blending layers based on color values.
- Screen — Lightens the image by blending the lightest pixels from each layer.
- Overlay — Combines Multiply and Screen to increase contrast, making highlights brighter and shadows darker.
Pro Tip: Experiment with different blending modes by selecting them from the drop-down menu in the Layers panel to achieve unique visual effects.
Paths and Vectors
While GIMP is primarily a raster-based tool, it does also have plenty of vector capabilities too.
Here’s some tips on how to use the Paths Tools:
Creating and Editing Paths
- Paths Tool — Use the Paths Tool to create Bezier curves for precise selections, shapes, and design elements. To start a path, click to create anchor points and drag to adjust the curve’s handles.
- Edit Paths: Once you've created a path, you can adjust individual points and curves by selecting the Edit option in the tool settings or holding Ctrl to move anchor points.
- Converting Paths to Selections: After creating a path, right-click and choose Select > From Path to turn your vector path into a pixel-based selection.
Vector Design
- Creating Shapes: Paths are excellent for creating scalable vector shapes. You can create basic shapes or complex designs, then fill them with color or patterns.
Pro Tip: Combine paths with layer masks to create intricate designs or cutouts.
Stroke and Fill Path
- Stroking a Path: Once you've created a path, you can "stroke" it (apply an outline) using a brush, pattern, or color. Right-click on the path and choose Edit > Stroke Path to customize the stroke width and style.
- Filling a Path: Fill the inside of your path with a solid color, gradient, or pattern. Use Edit > Fill Path and select your desired fill type for added creative flexibility.
Custom Brushes
If you’re looking for more creativity in your editing and design and the premade brushes just aren’t cutting it, no sweat.
You can always create your own brushes and get the textures, patterns, and special effects you’re looking for. Just follow the guide below:
Creating a Custom Brush
You can create your own brush by drawing a design on a new canvas and saving it as a .gbr file (GIMP Brush). To do this, draw your brush design, go to File > Export As and select .gbr as the file type.
To load it, place the .gbr file in the GIMP brushes folder:
Windows: C:\Users\[Username]\AppData\Roaming\GIMP\2.10\brushes\
Mac: ~/Library/Application Support/GIMP/2.10/brushes/
Restart GIMP, and your custom brush will appear in the Brushes panel.
Dynamic Brushes
Dynamic brushes allow you to create adjustable brush strokes that change based on factors like pressure, speed, or direction.
This is very useful for creating realistic effects like hair, grass, water, or fabric. To adjust parameters like opacity, size, and color for each brush stroke, go to Windows > Dockable Dialogs > Brush Dynamics.
Importing Brushes
You can also import brushes created by other artists.
GIMP supports a variety of brush formats, including .gbr, .vbr (vector brushes), and .abr (Photoshop brushes).
To import a pre-created brush, place the downloaded brush files in the brushes folder as outlined above, and restart GIMP to access them.
Using Scripts and Plugins
Scripts and plugins are extremely useful for automating repetitive tasks or adding new features to GIMP.
Here is how you can make the most of them:
Scripts Overview
Scripts in GIMP are pieces of code that automate tasks like resizing, applying filters, or batch processing.
GIMP supports both Script-Fu (native scripting language) and Python-Fu (more advanced Python scripting), so you have your choice.
There are plenty of pre-made scripts available online for free. Search them up based on what features you’re looking for and then use them to quickly apply complex effects, batch process images, or simplify tasks.
Example: Batch Resize is a popular script that can resize multiple images at once.
Installing Plugins
GIMP has a large community of users who develop and share plugins for free. Just check out popular sites like GIMP Plugin Registry and GitHub to find what you need.
Once you’ve found what you’re looking for all you need to do is install it. To install a plugin, download the file (often in .scm or .py format) and move it to GIMP’s plugin folder, usually found at:
Windows: C:\Users\[Username]\AppData\Roaming\GIMP\2.10\scripts\
Mac: ~/Library/Application Support/GIMP/2.10/scripts/
Restart GIMP, and you’ll find the plugin under the appropriate menu (usually under Filters or Script-Fu).
Customization With Python-Fu
If you’re familiar with Python, you can also create your own GIMP plugins using Python-Fu.
Doing this will allow you to do things like automate workflows, create new tools, or extend GIMP’s functionality.
Pro Tip: Python-Fu is more powerful than Script-Fu and offers more flexibility for complex tasks. The GIMP Python Console is a great place to start experimenting.
Common Mistakes to Avoid with GIMP Editor
Even the most experienced of users can run into pitfalls when using GIMP!
So, to help keep your workflow more efficient and avoid unnecessary headaches, here are some of the most common mistakes made in GIMP and how you can steer clear.
- Not Setting the Correct Resolution from the Start — Starting a project without setting the correct resolution can result in pixelated designs, especially for print. Always set the resolution to 300 DPI for print projects and 72 DPI for web images.
- Overusing Filters and Effects — Applying too many filters or effects clutters up your design and makes it look unprofessional and overwhelming to your audience. Use filters sparingly and as needed for a clean, polished look.
- Not Using Layers — Editing directly on the original image limits your ability to make changes later. Always work with layers to keep your elements separate and editable.
- Forgetting to Save in XCF Format — Saving in other formats like JPEG or PNG flattens your image, which results in the loss of layers. Save in GIMP’s native XCF format to preserve your layers and make any future edits easier.
- Ignoring the Undo History — Overlooking GIMP’s Undo History can make it hard to backtrack on mistakes. Use this feature to revert back to earlier steps in your project and clean up any mistakes before they snowball out of control.
- Not Using Shortcuts to Speed Up Workflow — Navigating through menus for every tool you need is tedious and slows you down. Be sure to familiarize yourself with GIMP’s keyboard shortcuts for faster and more efficient editing.
- Working in the Wrong Color Mode — Editing in RGB mode when designing for print can lead to inaccurate colors during printing. For print, convert the image to CMYK using a plugin or prepare for conversion at the final stage.
- Not Naming Your Layers — Trust us on this one. Not naming your layers can result in confusion and lots of frustration, especially with complex projects. Always name layers descriptively to stay organized and avoid mistakes.
- Not Learning to Use Masks Properly — Erasing parts of an image is a destructive editing method. Use layer masks to hide or reveal parts of an image non-destructively, to allow for any possible future adjustments.
- Exporting Without Checking File Settings — Exporting without choosing the right file format or adjusting compression levels can cause a loss of detail or unnecessarily huge file sizes. Always check these settings before exporting.
Recommended GIMP Editor Resources
Looking for more GIMP support?
Check out this list of resources to get the information, inspiration, and support you need!
- Official GIMP Documentation — The official GIMP documentation provides you with detailed guides, tutorials, and explanations of every tool and feature within GIMP. A great resource for troubleshooting and a more in-depth understanding of the software.
- GIMP User Manual — This downloadable manual covers everything from installing GIMP on your device to advanced features. A very useful offline reference to keep on hand.
- GIMP Tutorials on YouTube — There are plenty of GIMP tutorials to be found on YouTube. In particular, the Davies Media Design YouTube channel offers a wide range of tutorials, from beginner basics to advanced techniques like photo editing, design, and special effects. Check them out for anything you need to know!
- GIMP Plugins and Scripts — A huge library of plugins and scripts that extend GIMP’s functionality.
- GIMP Tutorials — The official GIMP tutorial section, providing step-by-step guides for photo retouching, image composition, graphic design, and more.
- Meet the GIMP! — A blog and podcast offering video tutorials and creative tips for GIMP users, ideal for those looking to learn at a slower pace or through video instruction.
- GIMP Chat — A forum where GIMP users can share tips, resources, and troubleshooting advice. Great for connecting with other creatives and solving specific issues.
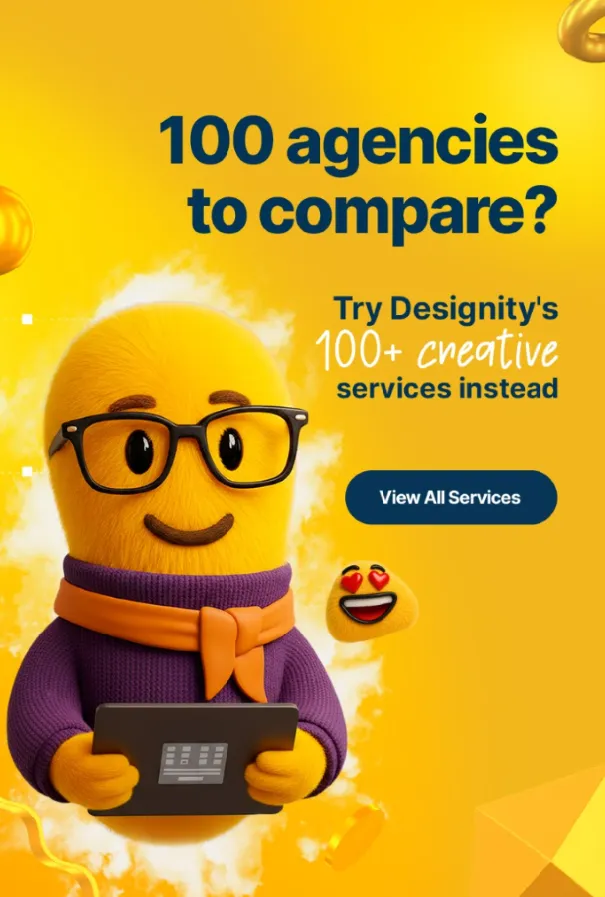
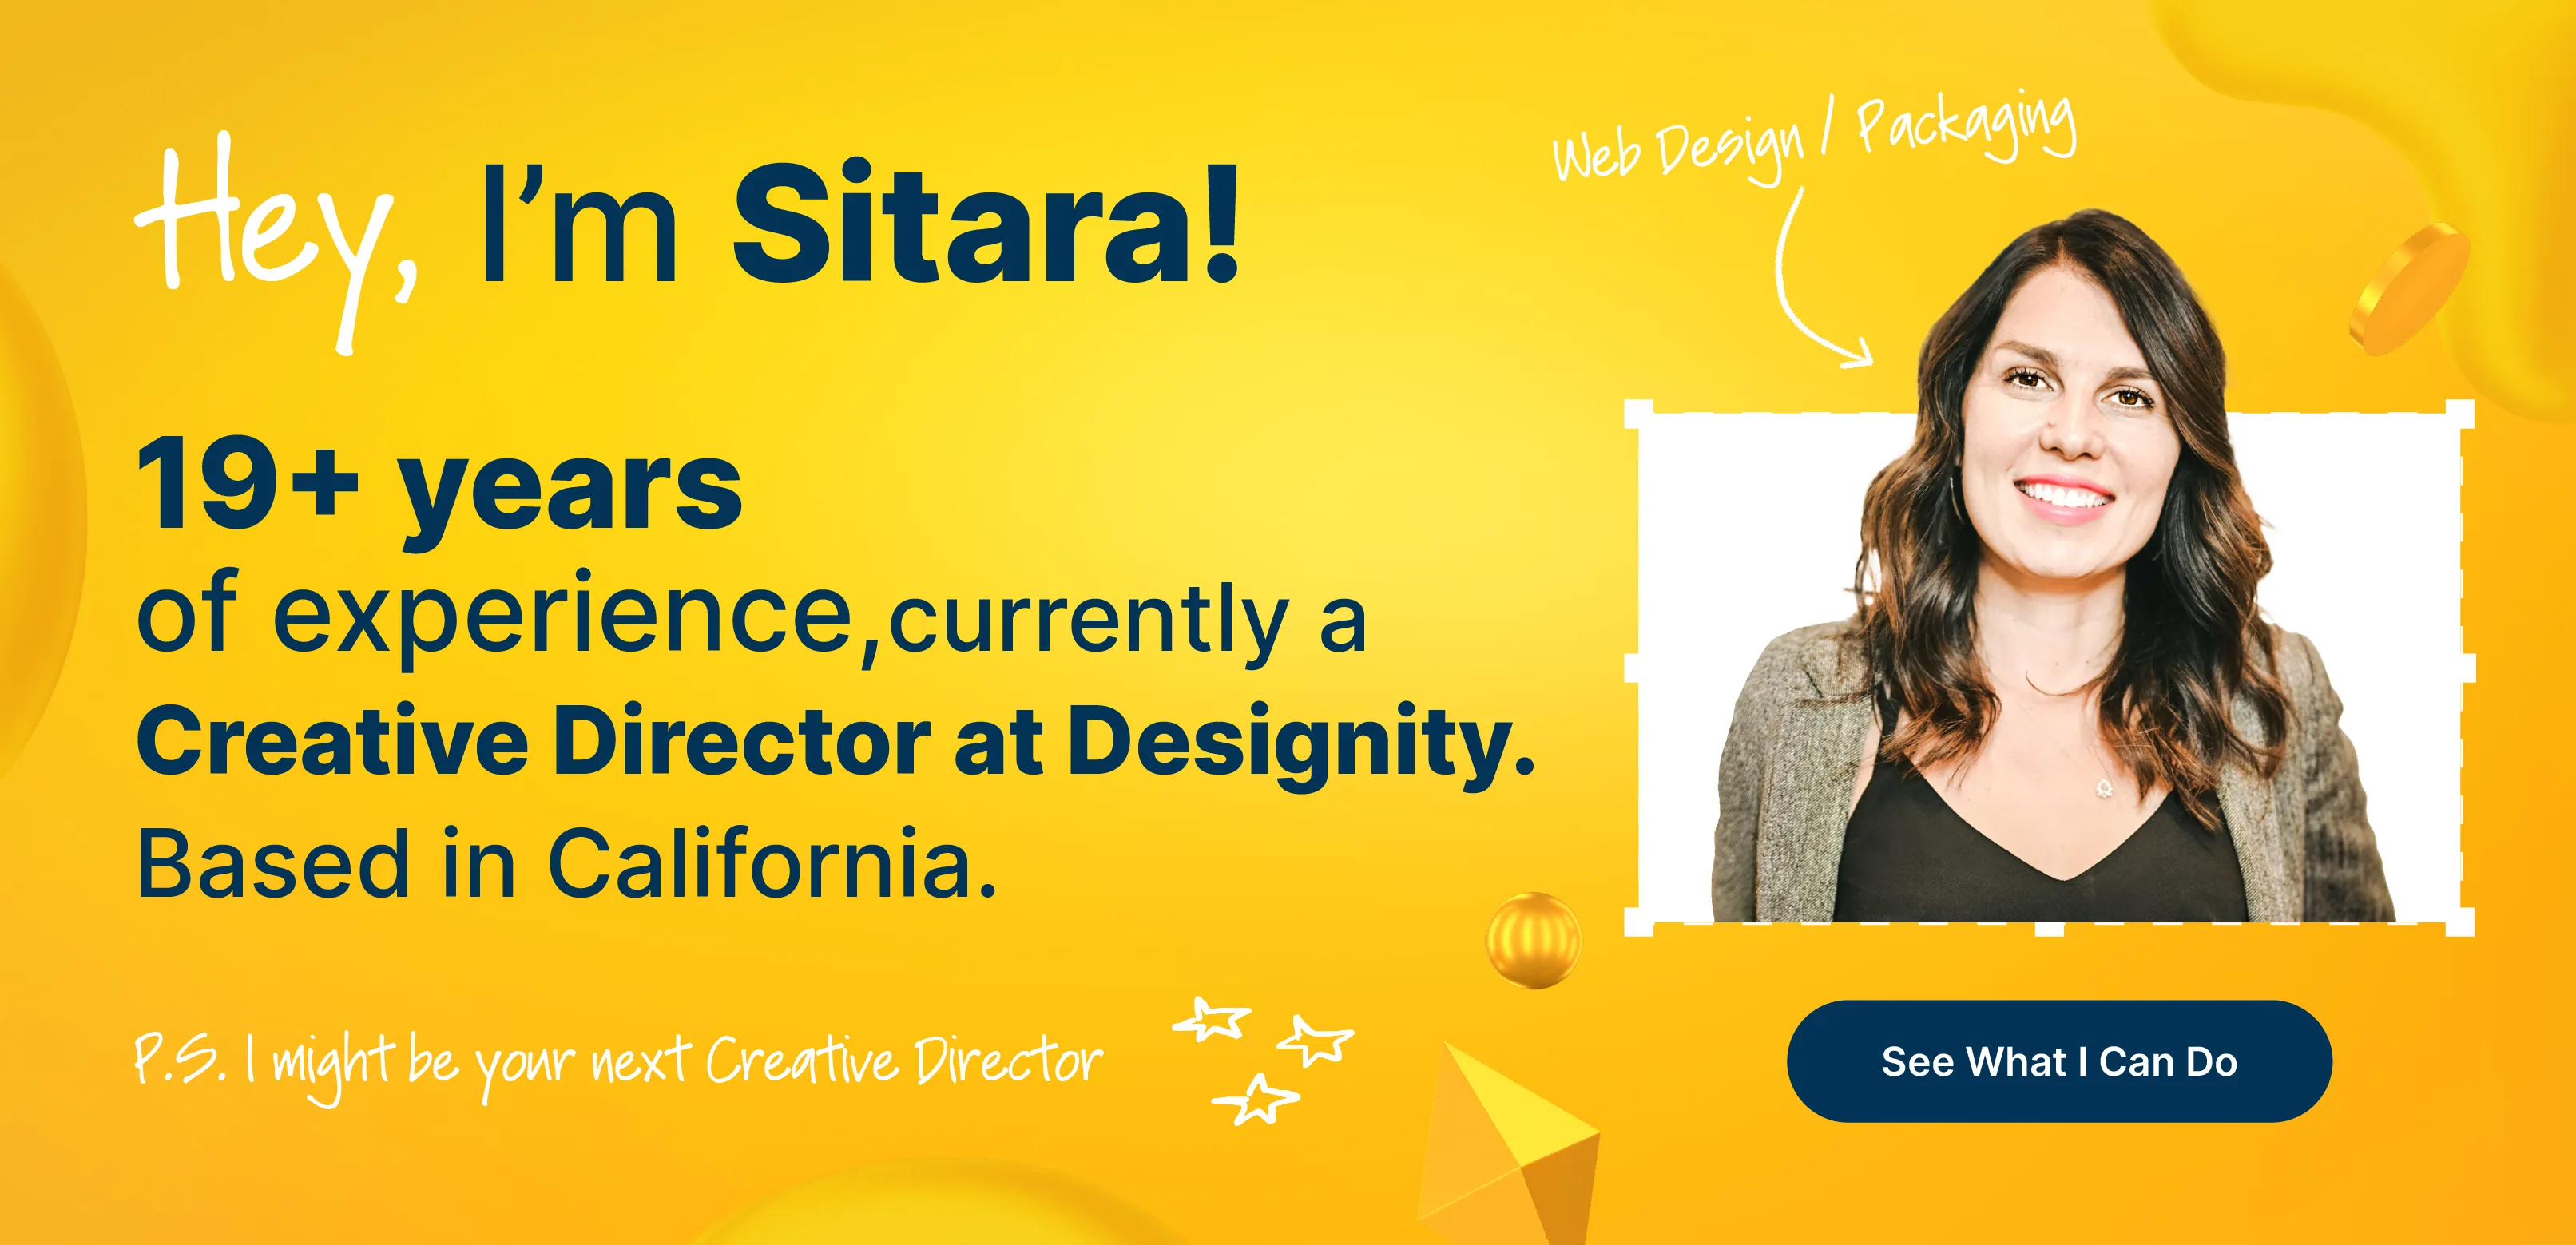
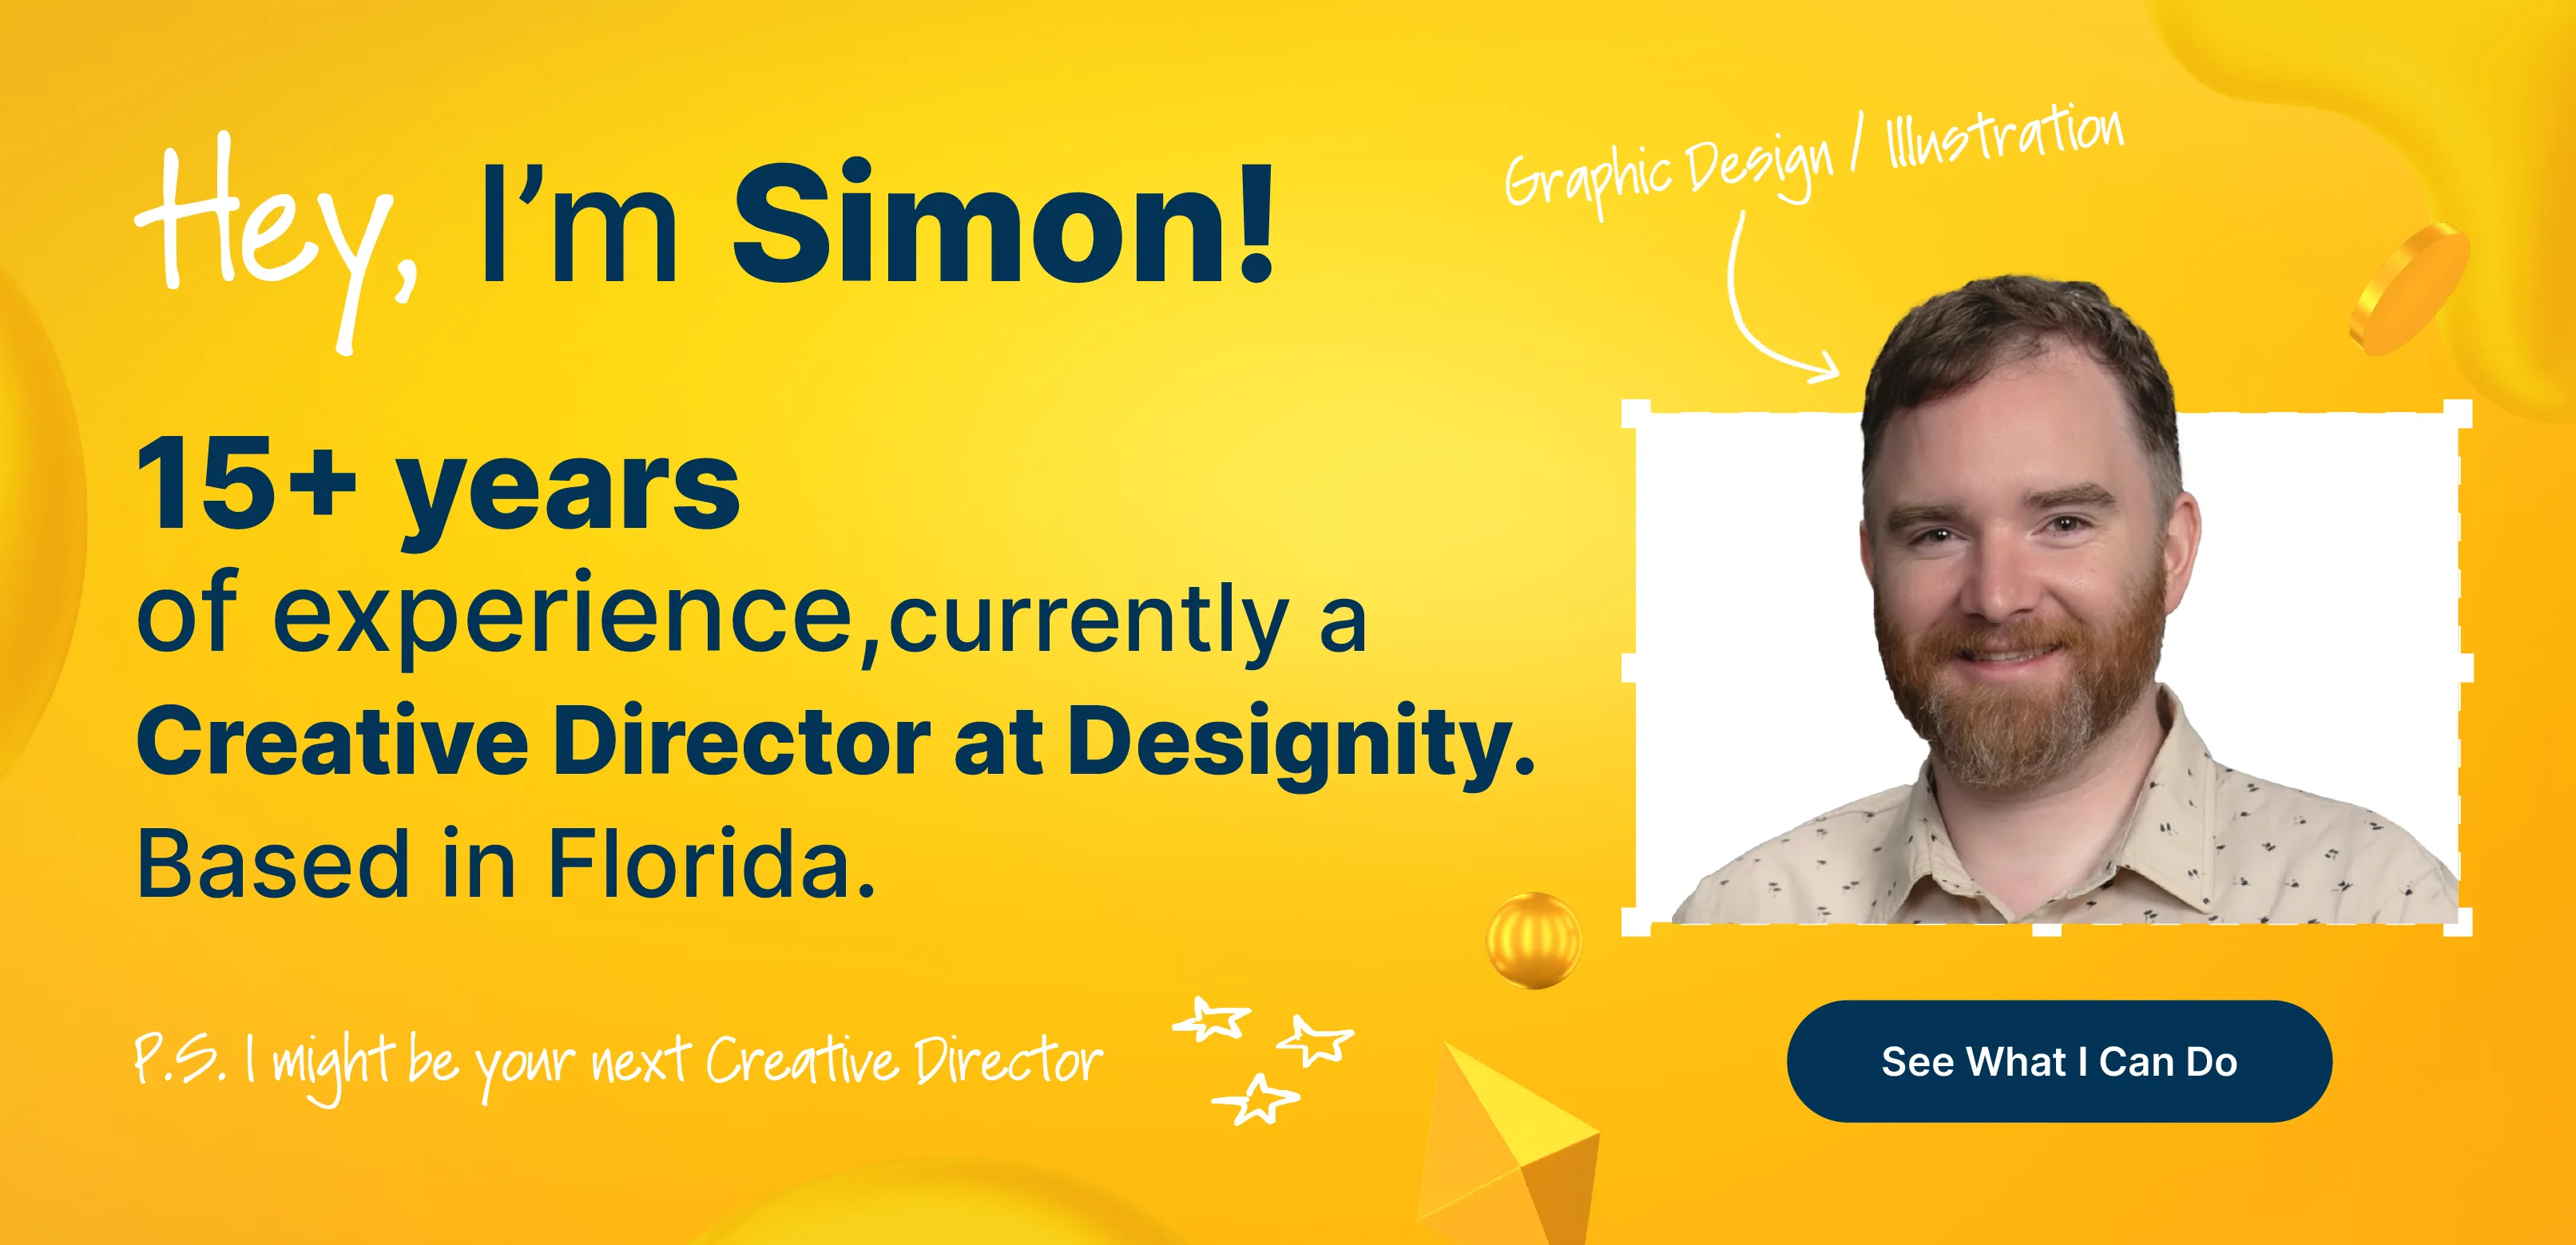
Looking for a Place to Put Your Editing Skills to Use?
Already a pro at GIMP?
Other common editing and design software like Affinity Photo, Photoshop, and more?
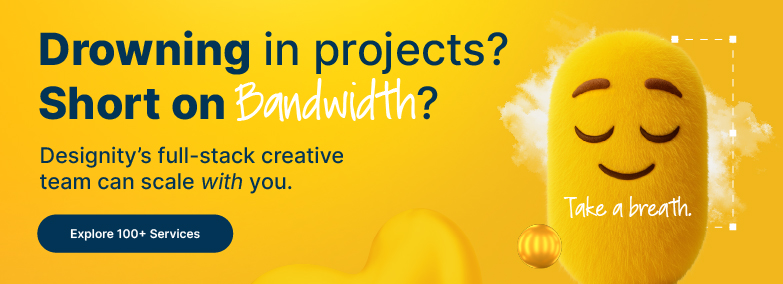
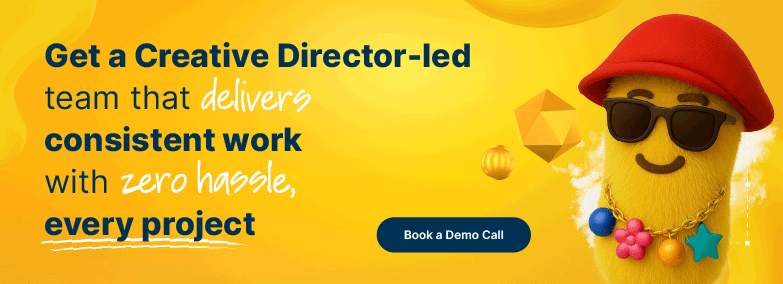
If you are and you’re looking for a place to provide you with a consistent pipeline of exciting editing and design projects, then we have a suggestion to make.
Why not join the Designity community?
Designity is made up of the best of the best in fields like graphic design, photo editing, illustration and more and we’re always looking for fresh new talent to join our ranks!
As a member of Designity, you’d not only get to enjoy consistent work with a variety of different clients and industries, but also competitive pay, a flexible work schedule, plenty of growth opportunities, and a 100% remote work environment!
So, if you’re ready to break free from your office, then perhaps Designity is the place for you and your amazing skills?
Go ahead and put your skills to the test with our one-of-a-kind application process and let’s see where Designity can take you!
Are you ready to amp up your creative career?
.png)
.png)


.png)
.png)
