
We know what you’re thinking and you’re right.
Creating your own infographic template is not a task that’s for the faint of heart. If you don’t already possess some design skills, it would be a bit like trying to build a house when your only construction experience involves Lincoln logs or Legos.
Now that we’ve got that out there … if you do happen to have some graphic design skills under your belt, then creating your own custom infographic design is an excellent way to make your collateral stand out from the crowd and truly have maximum impact with your viewers. It allows you the opportunity to really showcase what your brand has to offer in a way that a premade template just can’t compare with.
So, if you’re ready to stand out, then fire up the graphic design software of your choice, because this blog is going to run you through the process of creating your very own custom infographic template.
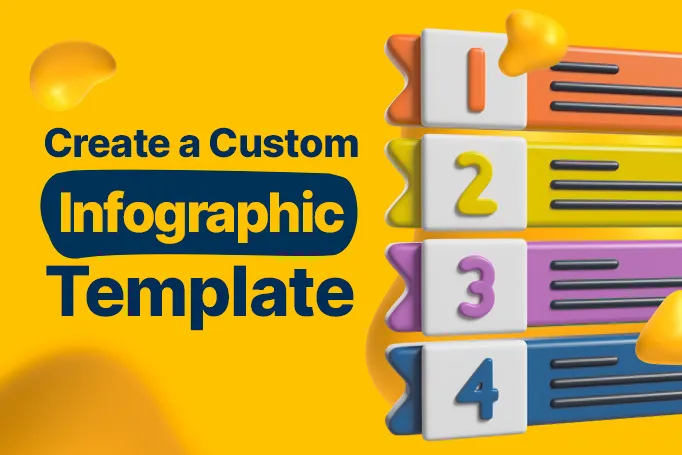
What is an Infographic Template?
You probably already know that an infographic is a visual way of presenting information, complex data, or knowledge in a way that makes that material concise and easy to digest.
There are several types of infographics, such as comparisons, timelines, statistics, and process, but they all have a few things in common. A good infographic makes your information easy to see, easy to read, and, most importantly, easy to understand.
An infographic template is a pre-designed layout or framework that gives you a structure for creating your stunning and informative infographics.
If you’ve got a bit of experience making these, you’ve probably seen sites like Canva and Adobe, with free templates available and ready for you to choose from. These sites have drag-and-drop features to let you change things like colors or add visuals, but because they’re pre-made, you’ll always be limited.
This is why we say custom is the way to go. In order to be truly unique and really stand out, let’s get started with the process of creating one yourself.
Step 1: Gather the Data

Whatever information your infographic is meant to show, whether it's statistics, comparisons, workflow, scientific data, whatever, it first needs to be visualized.
So, ask yourself a few questions:
- Can the information I want to present be organized into a visual?
- What is the best visual way of showing this information? Does a chart work best? A graph? A timeline?
Once you have the information you want to showcase, experiment with turning those numbers and data into visualizations in Microsoft Excel, Google Sheets, or Apple Numbers to see how this information can be best represented.
Remember, in order to create a good infographic, it is important to ensure that your information is easily understandable and visually engaging. Don’t be afraid to take your time here to really nail down the most effective way to do this!
Step 2: Write Your Copy
Once you’ve decided on what information to present and what the best way to present it will be, then decide which data would be best to flesh out in longer paragraphs.
Does your data look great in a graph or chart, but will require a bit more support to explain? That’s perfectly fine! Write out a short paragraph that helps your readers make sense of the visual they’re seeing.
If you have a copywriter, this would be a good time to lean on them to produce some engaging copy to punch up your chart and provide more explanation to support the concepts you want to present.
Another plus to adding copy to your visuals is that, if your infographic is on your website or social media page, this additional copy can be a huge help in getting your site to rank for SEO.
Since web crawlers cannot read text that is in an image, short explainer paragraphs and alt text give you an opportunity to take key search phrases that users are typing in when trying to find information about your material and sprinkle them throughout your infographic.
This makes your website more relevant and helps you pop up more in search engine results pages, leading to more traffic for you.
Step 3: Lo-fi Designs
Alright, this is where the fun starts.
You’ve now got your data, nicely organized into something visual, like a chart or a graph, you’ve got your copy and now is the time to decide on the layout of your infographic.
To help you figure out the hierarchy and best layout of your masterpiece, here are some more questions you can ask yourself:
- What information is most important? Whatever it is, it needs to have the most attention drawn to it.
- What is the most visually appealing way to do this? Could you make a set of statistics stand out by using a much larger font? A different font? A contrasting color?
- If it’s a visual that you want to stand out, what’s the best way to do that? Don’t be afraid to experiment with style a bit in this step. Changing up the style (i.e., hand-drawn, 3D, 2D) or line weight can easily call attention to certain visual elements in your infographic.
When you get the hierarchy down, it’s time for …
Step 4: Hi-fi Designs

Now things are really getting exciting!
Pick three to five of your favorite lo-fi concepts, brainstorm them with your team, and then pick a couple of concepts to turn into hi-fi design.
This is where you get to choose all of the elements that really make your infographic special; color palette, typography, and the illustrations, or images you’ll be using.
If you’ve got a brand guide, you can pull in some secondary and tertiary colors for contrast, to give you more options to play with while still staying true to your brand identity. If you feel like you don’t really have a brand identity, click right here, we’d love to help you find it.
Once you’ve got your typeface, your color palette, and your illustrations picked out, then set them up according to the layouts you created in the previous step.
You don’t even need to be on a computer at this point. If it’s easier to pull out a good old-fashioned pencil and paper for this step, then that’s fine!
It also helps to draw a grid on the page you’re working on to ensure everything aligns correctly, is properly proportioned, and that you give yourself enough space for all of the elements you want to showcase without crowding or making your design look too busy.
If you don’t have a creative team behind you and you’re feeling a bit overwhelmed by all of the color, typeface, and design choices you’ll need to make in this step, then we can help you with that too.
Step 5: Build it Out
This step is where we’ll start exploring what platform is best to bring your hi-fi designs to reality.
There are several free infographic makers out there, but popular choices are Canva, Piktochart, and Venngage. Each lets you do different things, but if you have the time to experiment with more than one, do so to see which platform and features will let you get as close as possible to your hi-fi design.
If you have some serious skills, then we recommend programs like Adobe Illustrator, InDesign, or Photoshop. The sky's the limit with those because they’ll allow you to create just about anything.
Take your time, build out a couple of templates based on your hi-fi designs, and save them for future use!
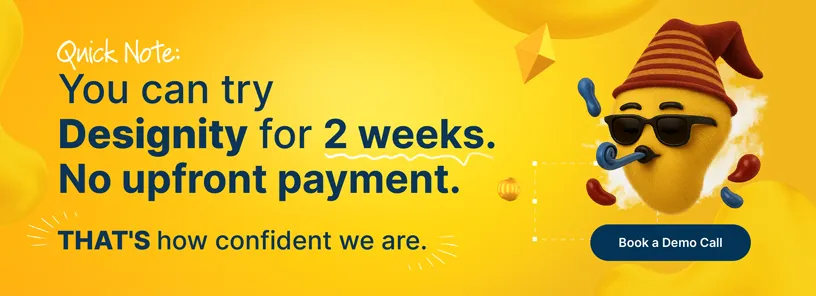
<div class="c-blog_comp-cta cc-component-1"><div class="c-blog_comp-cta-left"><div class="c-blog_comp-cta-left-wrap"><img src="https://global-uploads.webflow.com/61cdf3c5e0b8155f19e0105b/6369722e59155470b6840033_Potential-clients.png" loading="lazy" alt="" class="c-blog_comp-cta-left-img"></div></div><div class="c-blog_comp-cta-right"><div class="c-blog_comp-content"><div class="c-text-wrapper cc-mb-32"><div class="c-title-4 cc-bold"><strong>Want to save money without sacrificing the quality?</strong></div></div><div class="c-text-wrapper"><div class="c-text-2">Say goodbye to traditional, expensive agencies and unreliable marketplaces. Say hello to Designity.<br></div></div></div><div class="c-blog_comp-wrapper"><a href="/pricing" target="_blank" class="c-button cc-primary cc-inverted w-button"><strong>Get Your 2-Week Trial</strong></a></div></div></div>
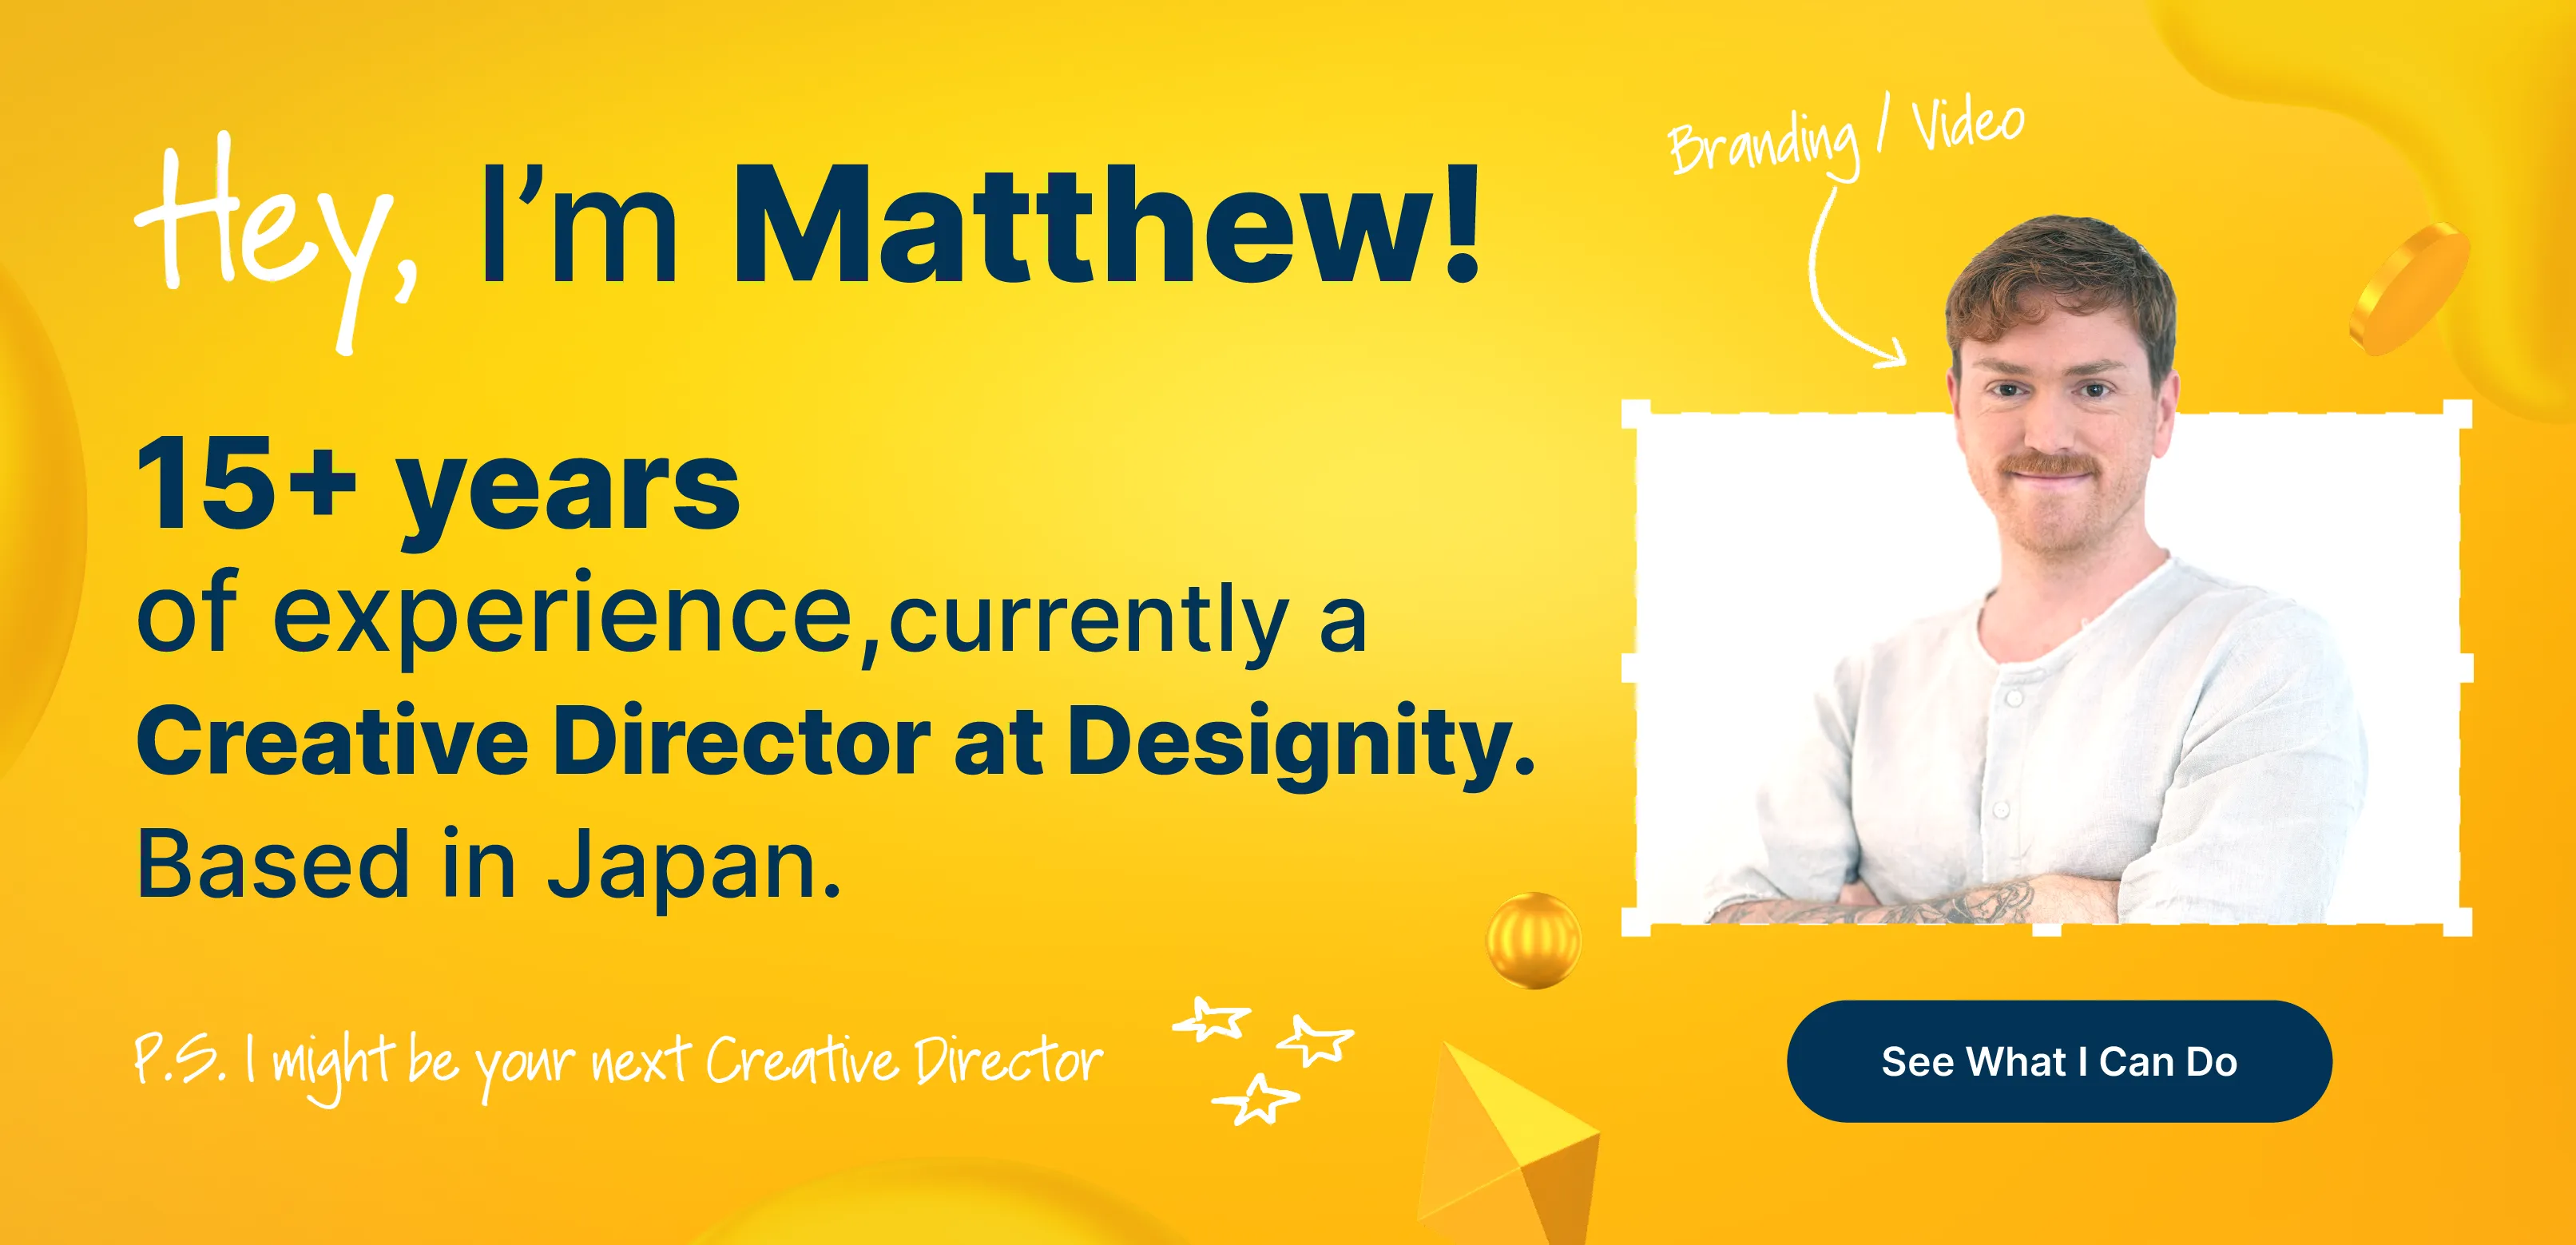
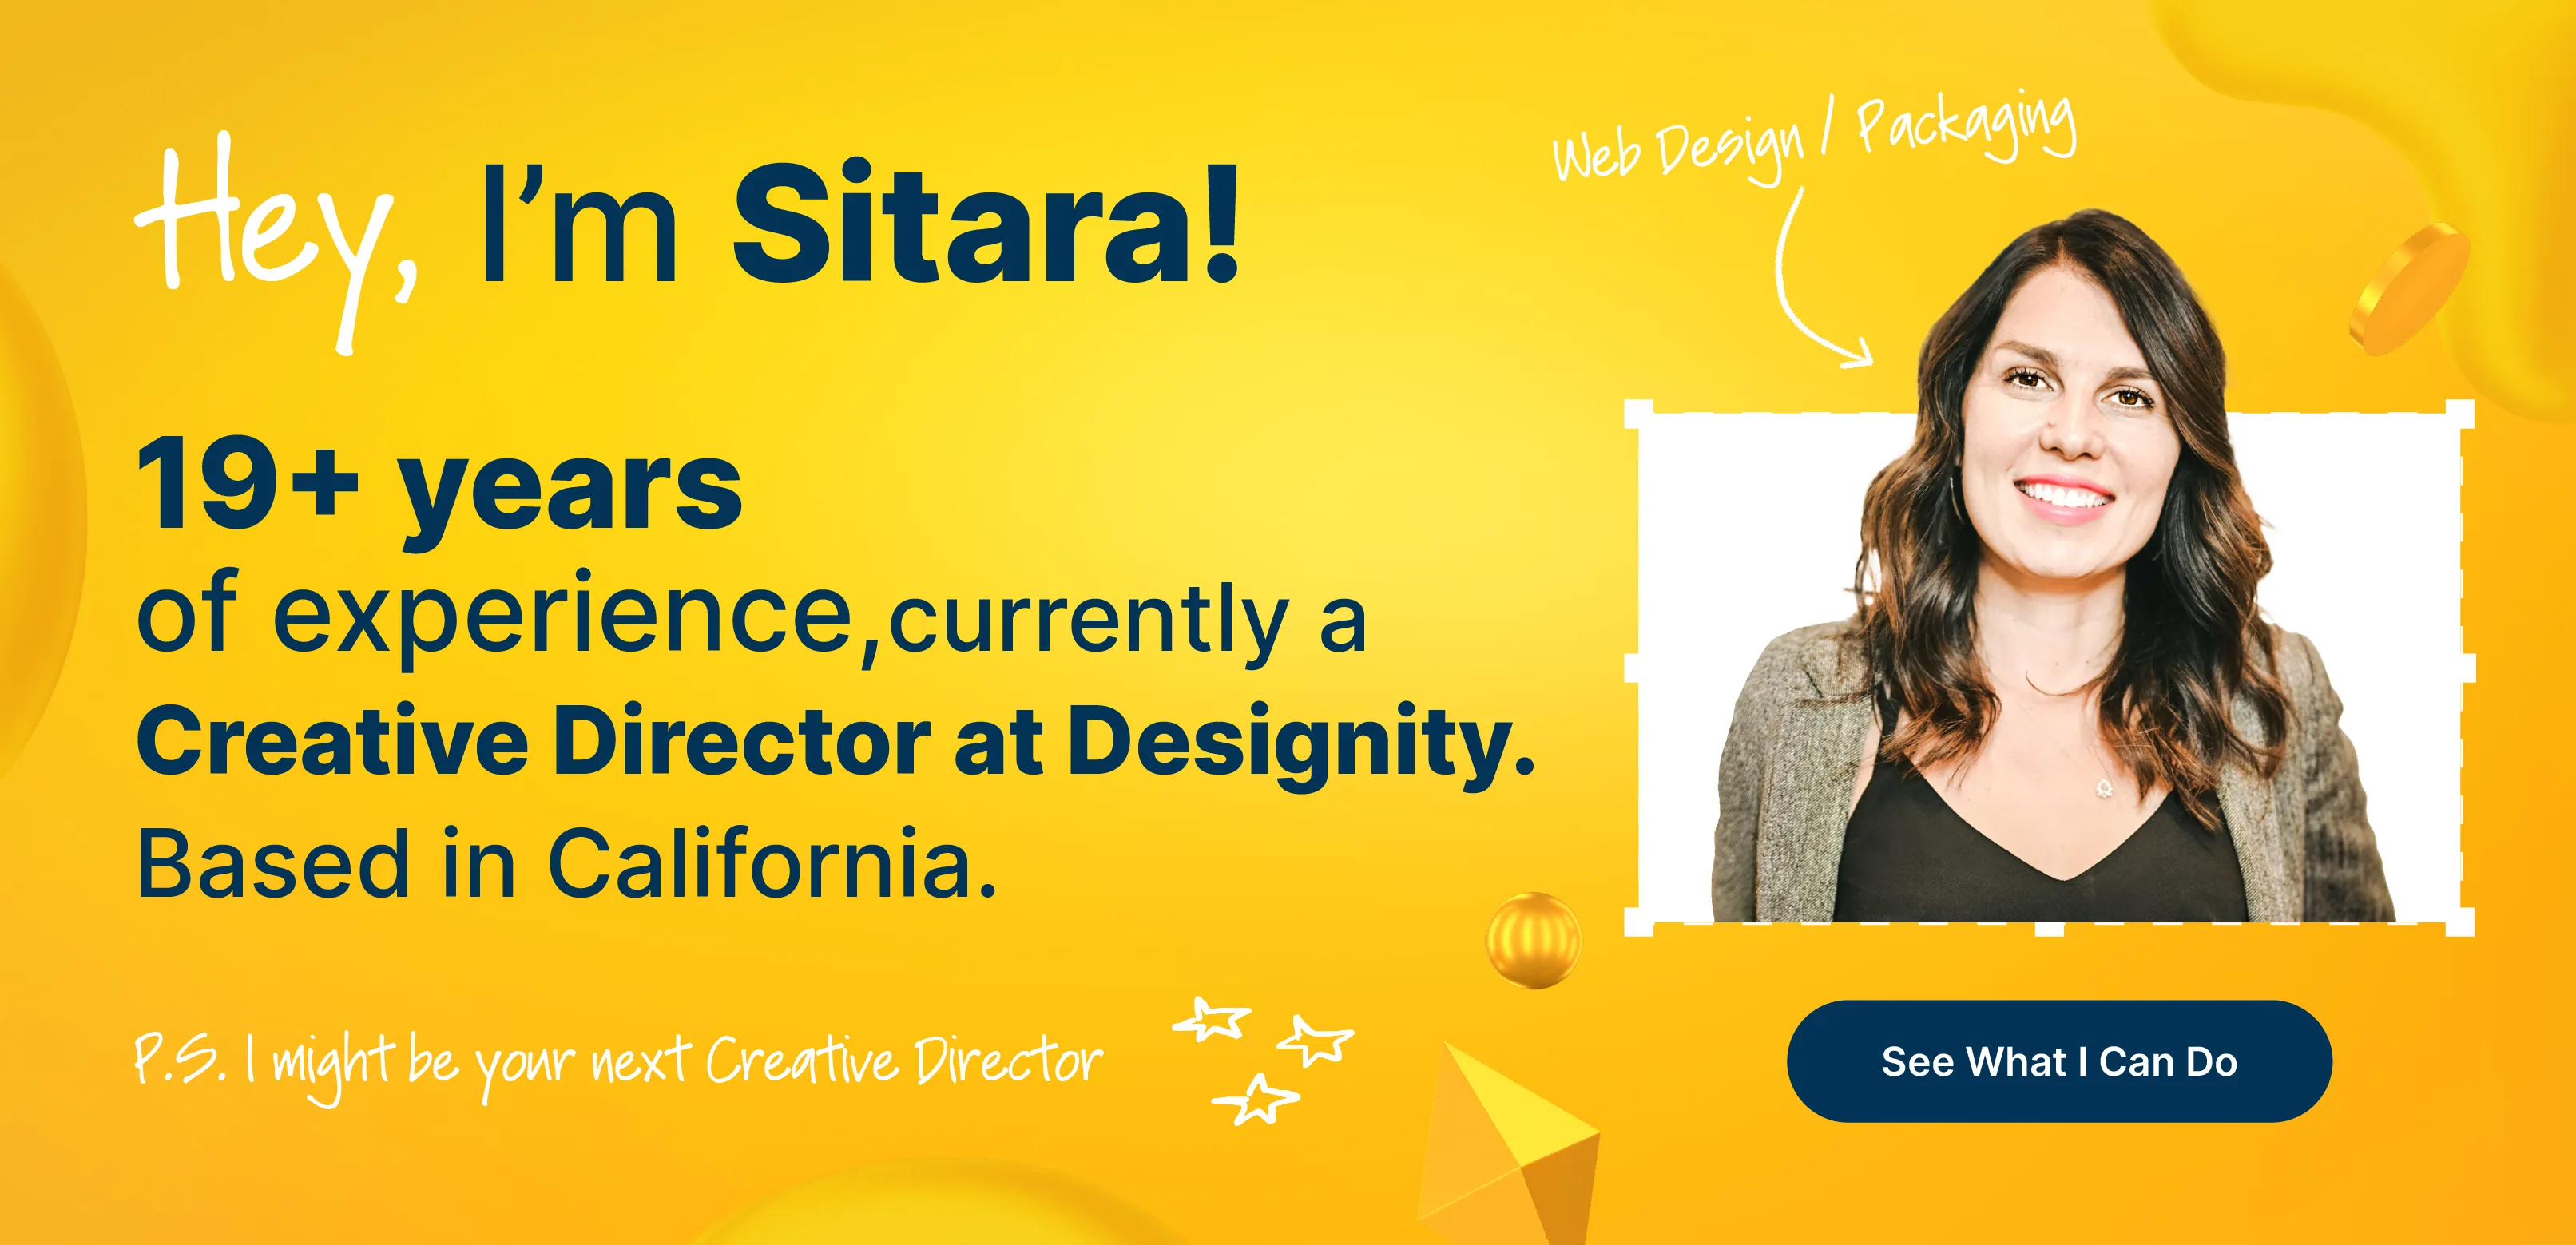
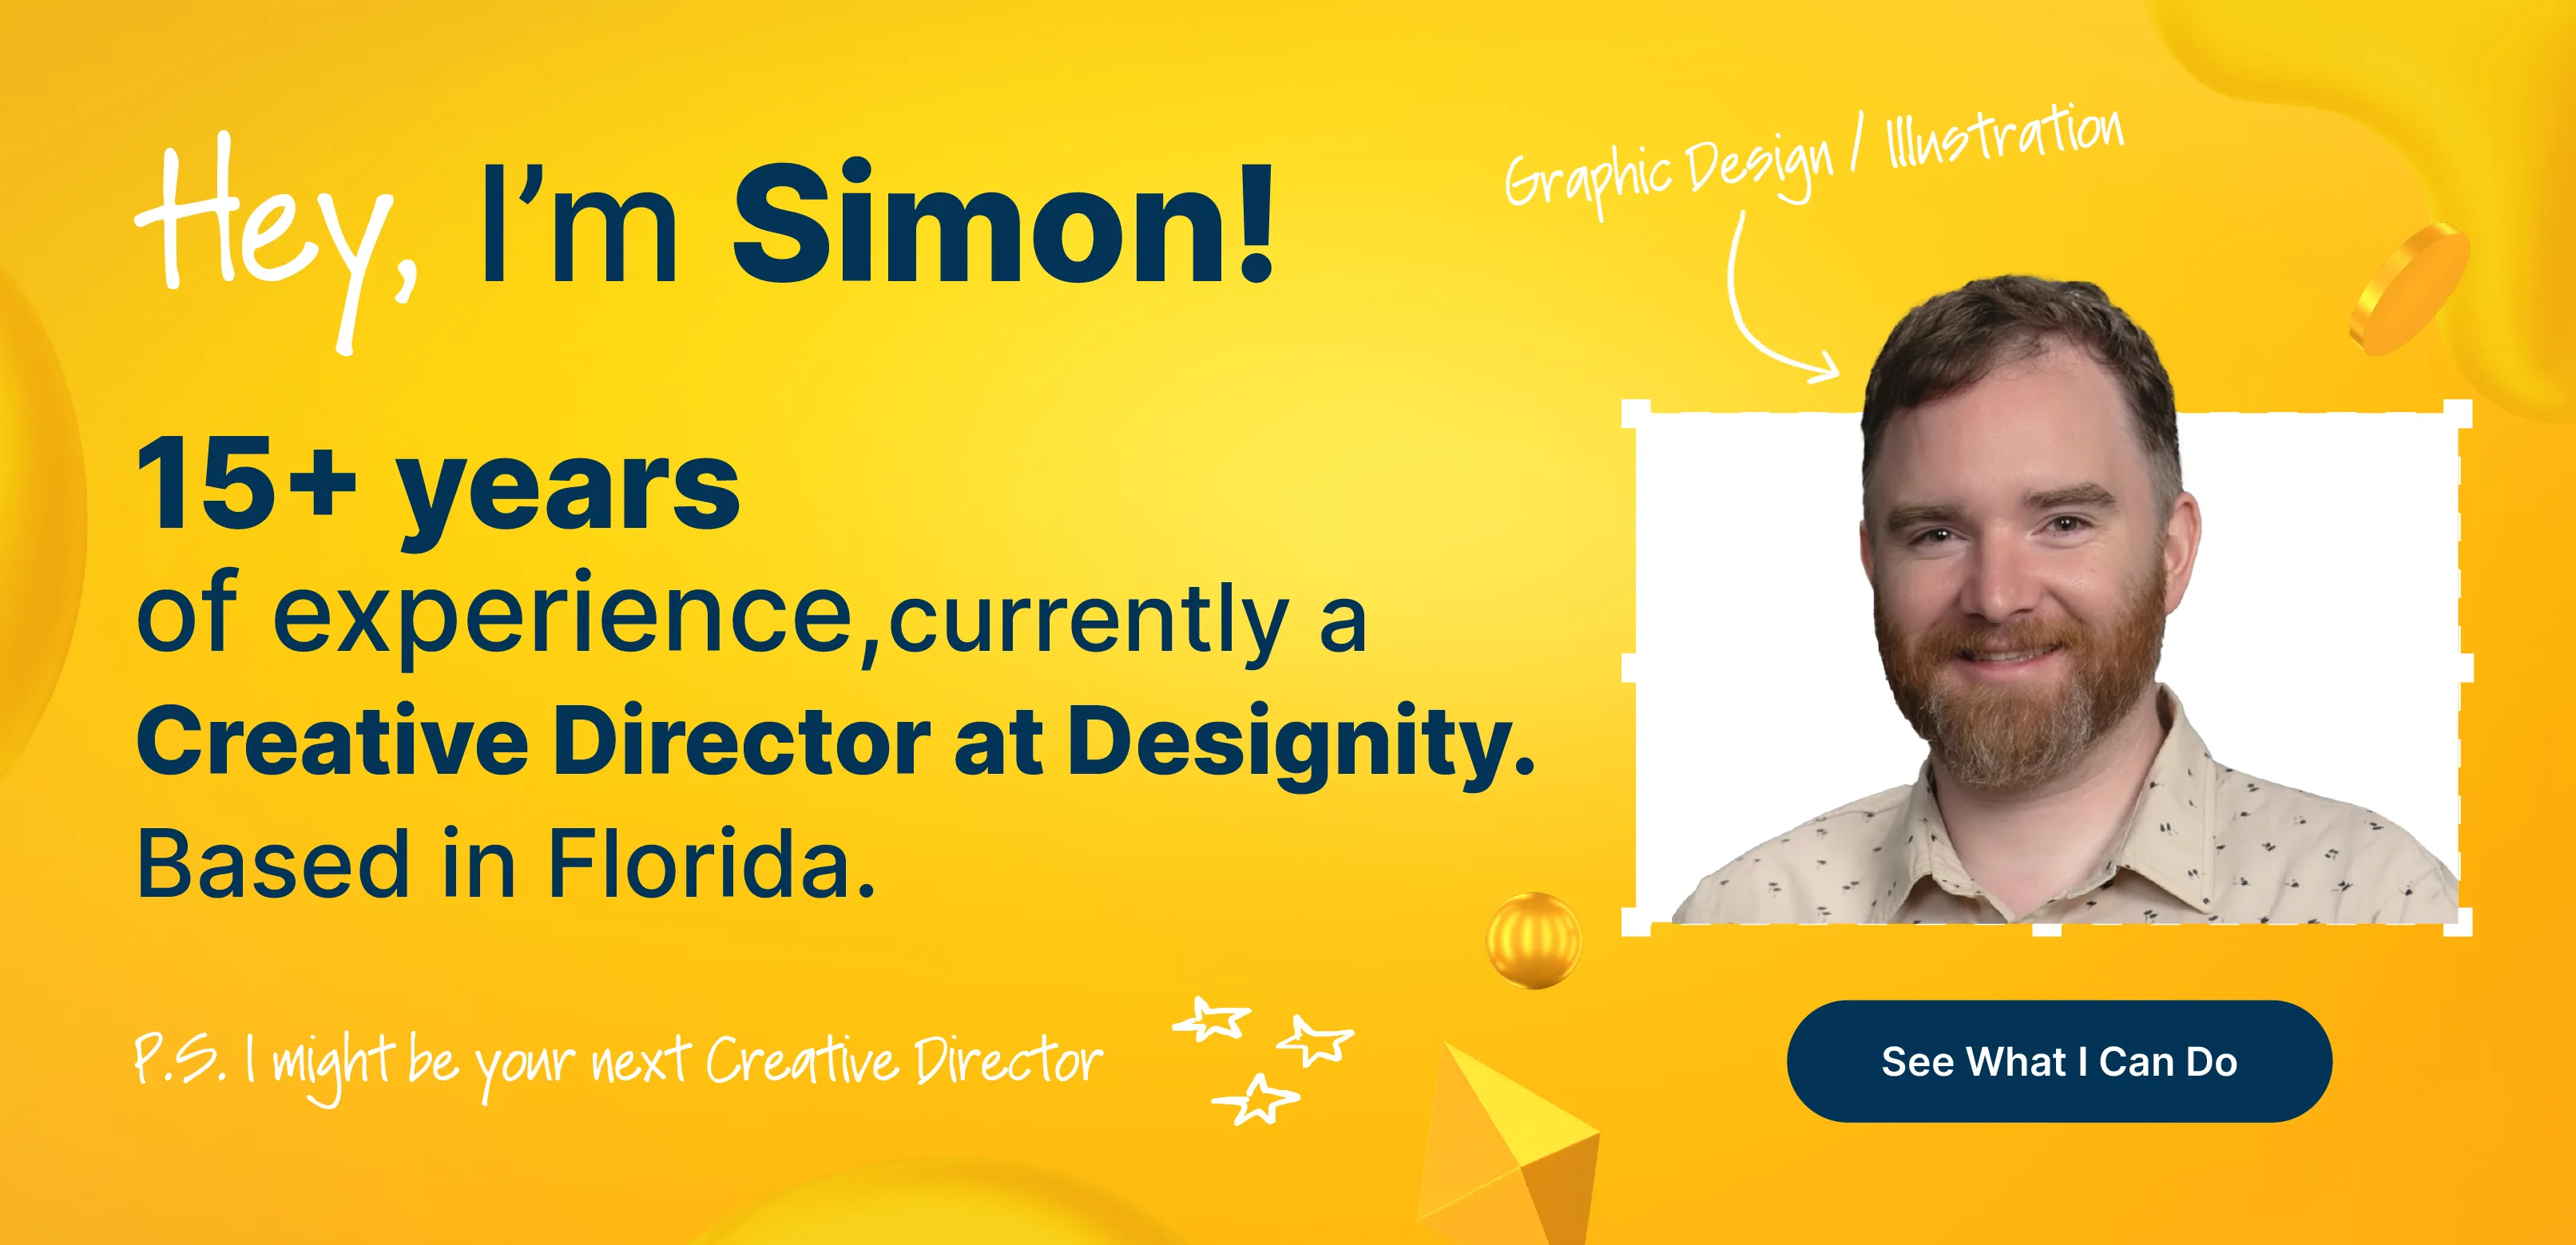
The Perks of a Creative Team
While creating your own infographic template is a completely doable task, we’ll be the first to admit that it is a time-consuming process and, unless you’ve got some serious design skills, your final results might not live up to your expectations.
So, how do you ensure the best version possible of your infographic vision?
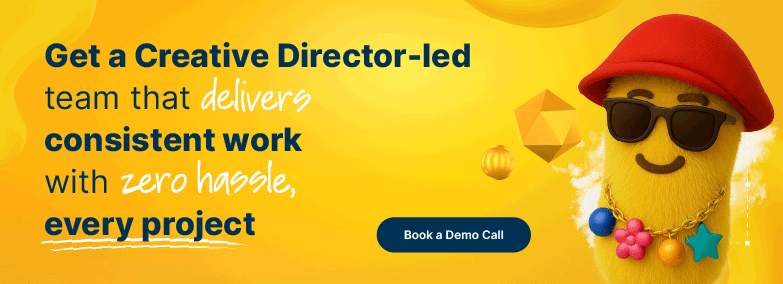
Well, having a Creative Director with a background in both design and marketing is one way to truly set your final results apart.
With a Creative Director taking over your infographic design projects, you can streamline the entire process and let design experts (our talent pool is made of the top 3% of US-based creative talent!) create stunning versions of your lo-fi designs that are beyond your wildest dreams.
Why not try us out? Having Designity on your team takes the stress out of any marketing project and is sure to leave you with a set of infographic templates, or any other marketing collateral, that you’ll be happy to use again and again.
Where do you go for your design projects?
-2025-12-24%2520at%252010.31.02.webp)
.webp)


.webp)
